


[KGVID width=”320″ height=”568″]https://www.coppellstudentmedia.com/wp-content/uploads/2015/10/IMG_1245.mov[/KGVID]
Fall is finally here, and as the leaves change color and the air gets chillier, halloween is getting closer. What better way to spend the holiday than by doing a fun, fall, pumpkin craft with a Coppell Cowboys twist?
If you have never carved a pumpkin before, let me break down the steps for you.
First you are going to need a few supplies-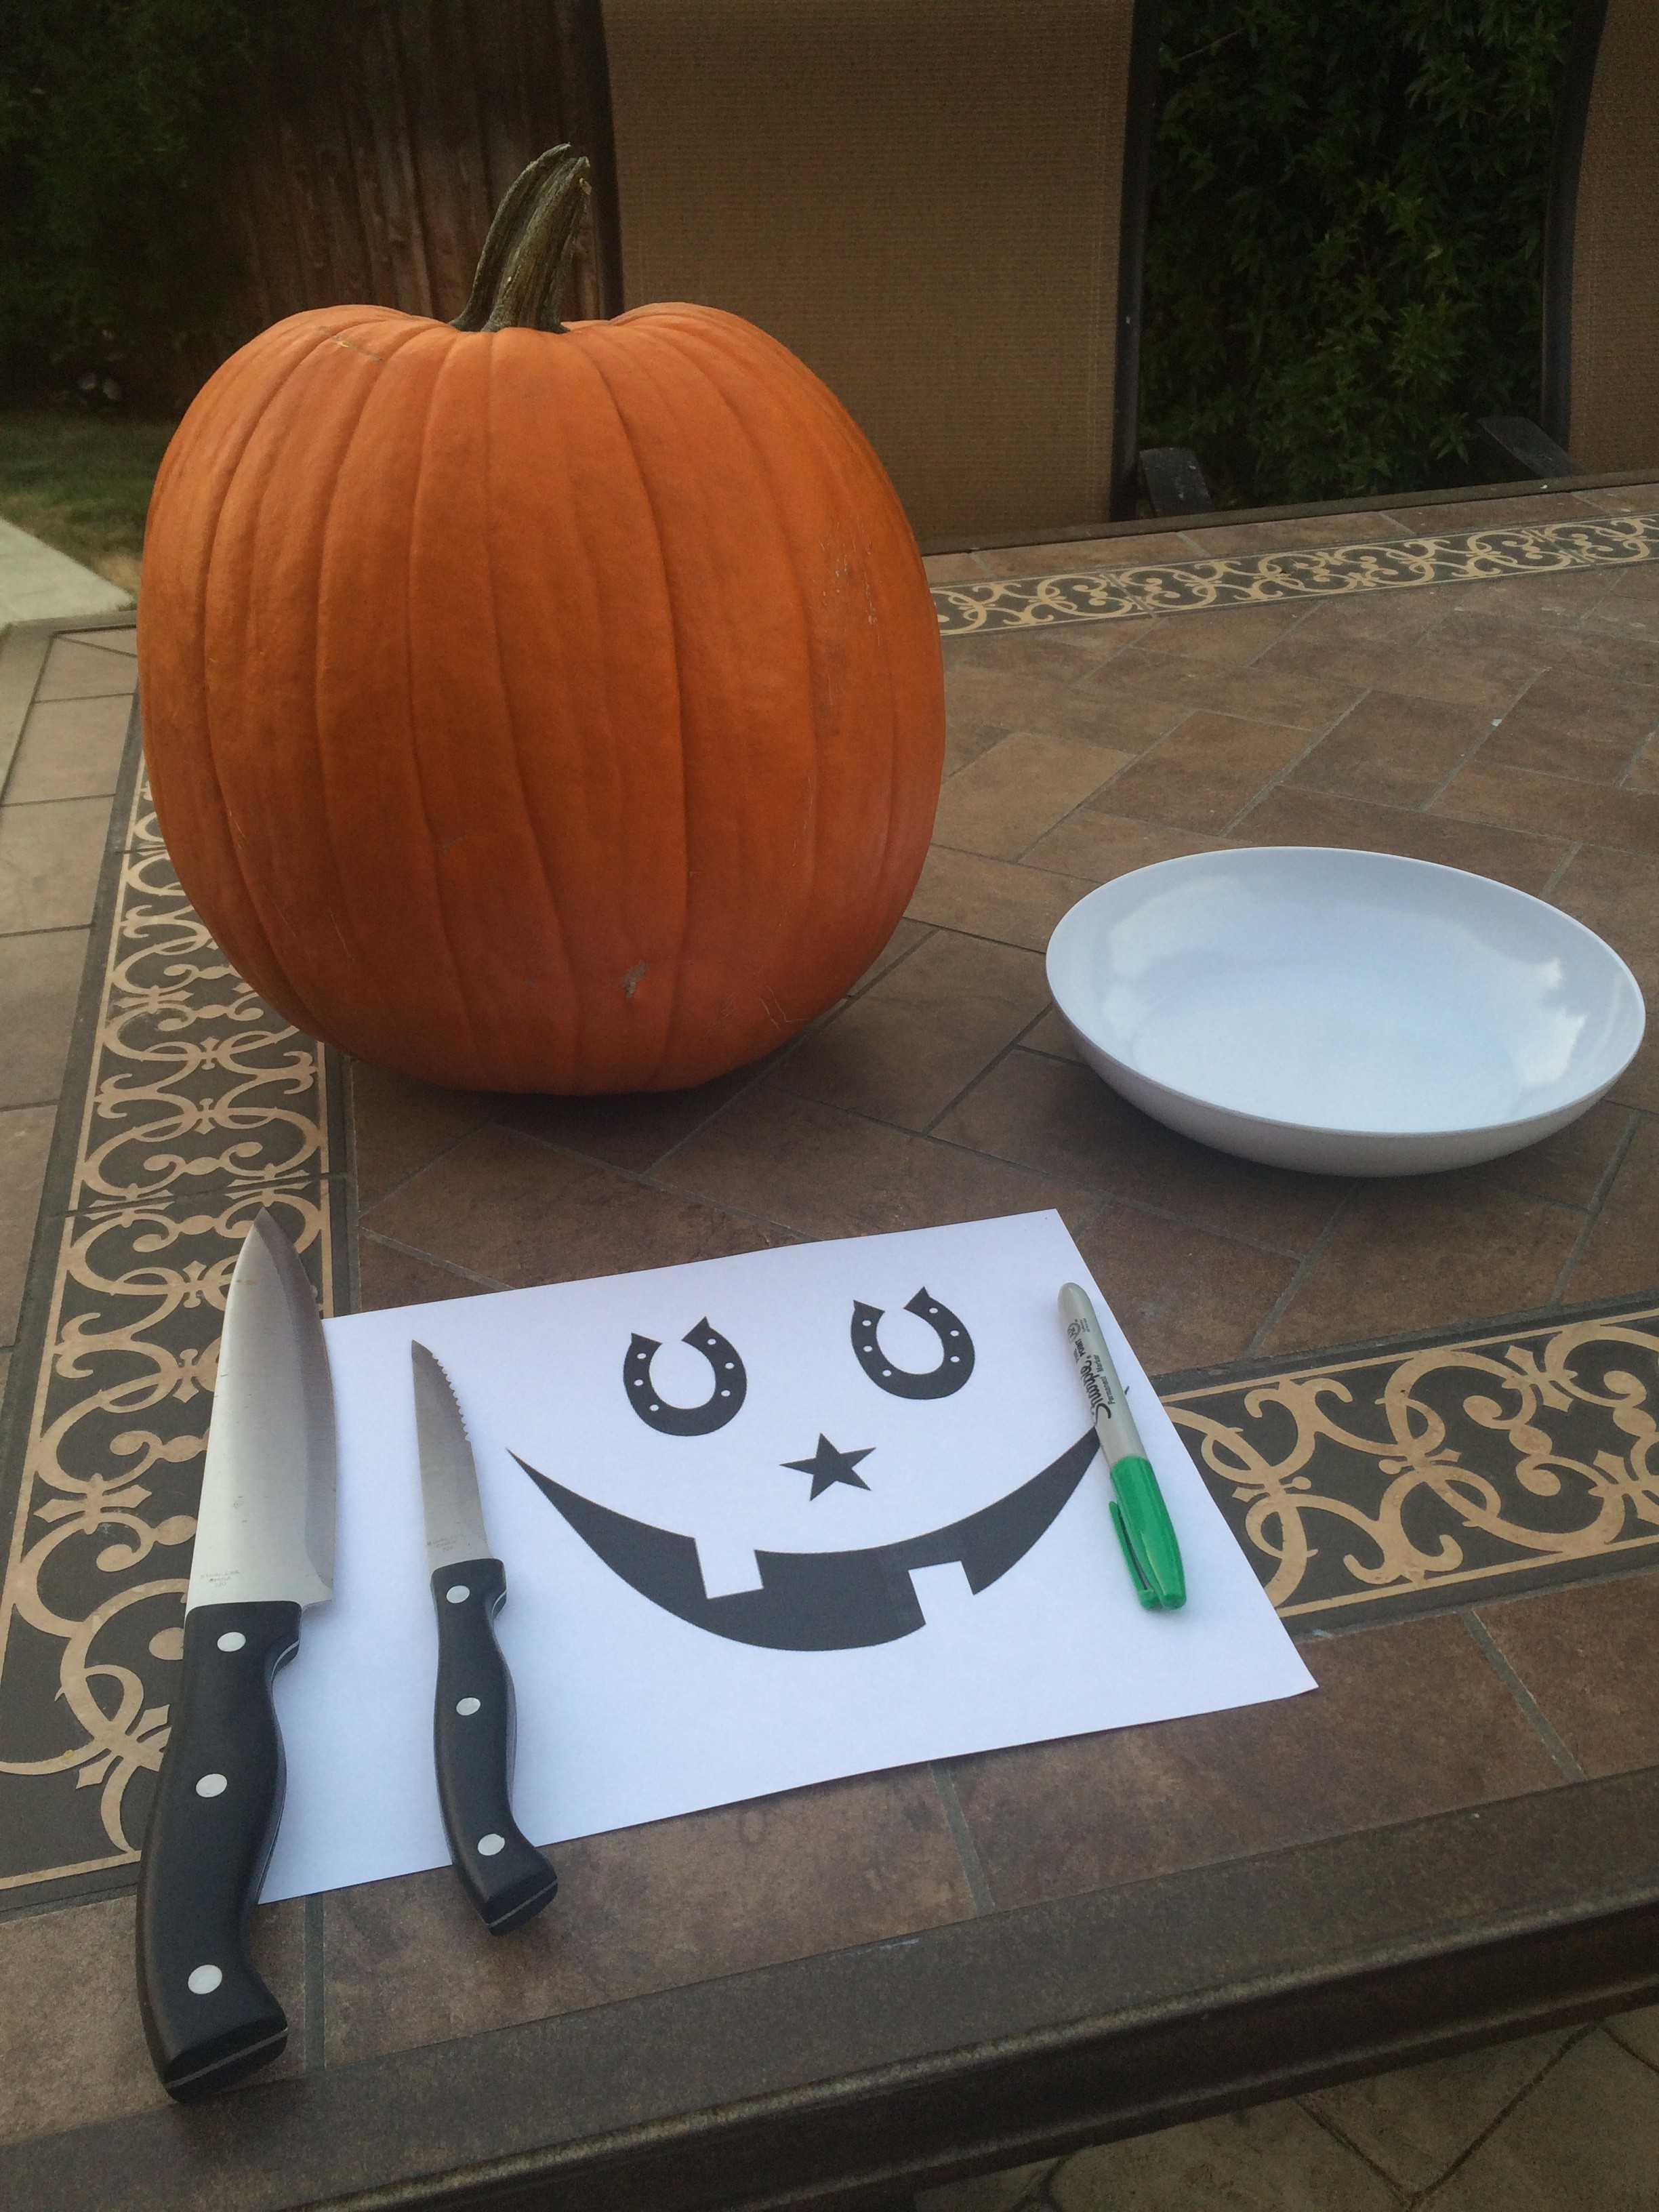
-1 small knife (for the pumpkin’s design)
-1 bigger knife (for the pumpkin’s lid)
-the template provided
-bowl (for the core of the pumpkin)
-sharpie (preferably dark color)
-flashlight/candle/battery powered light
-and of course, 1 large pumpkin
After you have gathered all of these supplies, find an area that you do not mind getting a little messy. Also, wearing a shirt that you do not mind getting dirty is a smart choice.
Start by using the big knife to cut the lid of the pumpkin. You want to cut in a complete circle around the top of the pumpkin so that the top lifts right off.
Once you have successfully separated the two, you are going to need to scoop out the insides of the pumpkin into a bowl. This mess of seeds and orange strings is the core or “brains” of the pumpkin, which can be used to make pumpkin pie, but will not look good in your jack-o-lantern.
Next is when your dark-colored sharpie comes in handy. Use the template to mark on your pumpkin where you are going to cut. Then, use the small knife to bring your design to life.
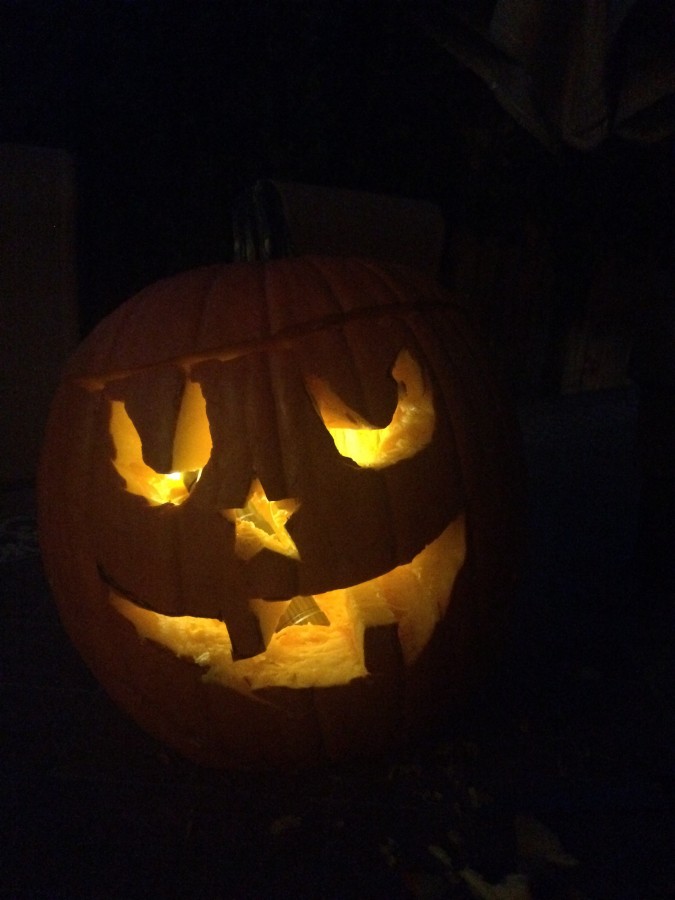
Once you have carved your pumpkin, place a candle a battery powered light (you can get these at the dollar store) inside your pumpkin so that your whole neighborhood can see your creation.
Happy carving!