


By Elizabeth Sims
Staff Writer
With many history and English class projects being visually driven, an essay may seem too boring to present a topic effectively and capture the attention of fellow classmates. What if that essay looked like an original document from the time period being studied? A variety of methods have been debated over the years as to the best way to make a piece of paper look worn and weathered.
From tea staining to lemon juice and heat to simply wrinkling and tearing, all methods are effective. This is a quick and easy tutorial that will yellow, wrinkle and add char marks to the paper all at once. The only materials needed are coffee, a paintbrush, a document to be aged and a stove.
Step 1: Preparation
Brew a cup of coffee that is dark enough to stain the paper. If it is too light, the paper might not be yellowed enough. A medium to dark brew is recommended for a darker stain, but a light brew or tea can be used if a 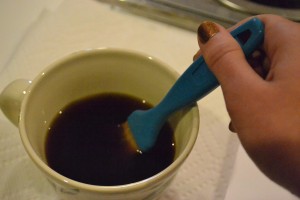 lighter stain is desired. Cover the workspace with paper towels or another absorbent material to prevent the coffee from seeping through the document, as this will cause it to stick to the surface. Lay the document on paper towels.
Step 2: Staining
Use a paintbrush to apply a light, even coating of coffee that covers the entirety of the document. Horizontal brushstrokes are recommended for even coverage. Once the first coat is applied, fill in any white spaces in the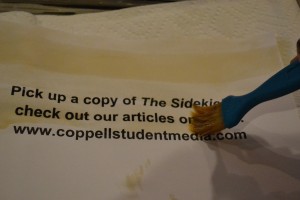 corners and edges of the document. Continue to add generous coats until the desired yellowing is attained. Two or three coats will usually get the job done. Peel the document off the paper towels, with care not to tear the paper. Let any excess liquid run off onto the paper towel.
Step 3: Drying
Turn the stove to medium-high and gently wave the document just above the stove, holding it by the upper corners. Once the document begins to feel dry, begin lightly skimming it over the stovetop. This will wrinkle 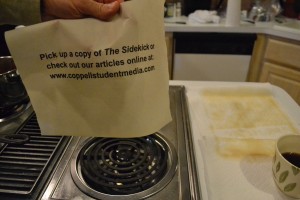 the document naturally so it will not have to be crumpled later. However, take care not to hold the document on the stove for longer than a second or the paper will begin to burn and turn brown. The document is entirely dry when the paper feels brittle and delicate.
Step 4: Charring
In this step, it can be very easy to get carried away, but for safety purposes caution and discretion are advised. Take care not to char too much of the paper as it will look tacky in the end. To char the paper, simply press  the desired section of the document against the stovetop for about five seconds or until the paper begins darken. The edges and corners of the document are recommended for an authentic look, but any part of the document can be charred.
*If a hole is desired, gently fold the section of the document (without creasing it) and press it against the 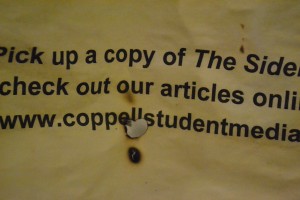 stovetop for about eight seconds or until the document has burned through. Use extreme caution in this step as the paper may catch on fire.
Step 5: Wrinkling (optional)
If the paper did not wrinkle enough during the drying process, gently crumple the document. Then unfold the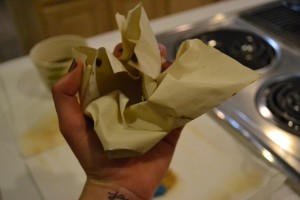 document and smooth it out with your palm or by rubbing it back and forth on the edge of the counter.
After all steps are complete the document will be yellowed, wrinkled and charred, giving it the desired aged look. This can add creative flair to any visual piece for a history or English project. Just be sure to let the 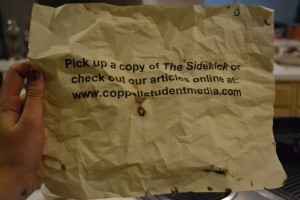 document air out a bit to get rid of a strong coffee smell before it is turned in.


